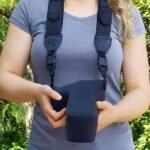
Do you want to create customized koozies that showcase your creativity or brand? Cricut machines make it easy to craft unique designs for neoprene koozies, whether for personal events or promotional purposes. But how do you get started? With the right tools and techniques, you can transform simple neoprene koozies into standout pieces.
Making koozies with Cricut involves using heat transfer vinyl, a Cricut machine, and neoprene blanks. You’ll design, cut, and apply vinyl to create professional-looking koozies with ease.
From selecting materials to avoiding common mistakes, this guide will help you master the process of crafting custom koozies with a Cricut machine.
Can you Cricut on neoprene?
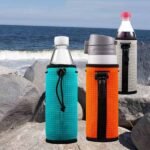
Neoprene is a popular material for koozies due to its flexibility, insulation, and water resistance. But can you use a Cricut to customize neoprene?
Yes, you can use a Cricut to customize neoprene koozies. With heat transfer vinyl (HTV) and proper application techniques, designs adhere effectively to neoprene surfaces.
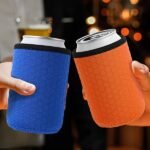
Why Neoprene Works
- Durability: Neoprene withstands heat and pressure during application.
- Flexibility: The material conforms to vinyl designs without cracking.
- Versatility: Neoprene supports a variety of vibrant and intricate patterns.
Understanding how to handle neoprene during customization is crucial. Let’s dive into the machine settings needed for a successful project.
What do you need to make koozies with Cricut?
Starting a Cricut koozie project requires a few essential tools and materials. These items ensure smooth crafting and professional results.
To make koozies with Cricut, you need neoprene blanks, heat transfer vinyl (HTV), a Cricut machine, a cutting mat, a weeding tool, and a heat press or iron.
Materials Checklist
- Neoprene Koozie Blanks: Choose plain koozies suitable for heat application.
- Heat Transfer Vinyl (HTV): Ideal for durable and vibrant designs.
- Cricut Machine: Any model, such as Cricut Explore, Maker, or Joy.
- Cutting Mat: Use a StandardGrip mat for stable cutting.
- Weeding Tool: Helps remove excess vinyl after cutting.
- Heat Press or Iron: Ensures strong adhesion between vinyl and neoprene.
With these tools in hand, you’re ready to begin your project. Next, let’s see if neoprene works well with Cricut machines.
Which Cricut settings work best for koozies?
Using the right Cricut settings ensures clean cuts and easy application of your design to koozies. Incorrect settings can lead to wasted vinyl or poor results.
For neoprene koozies, use the “Iron-On Vinyl” material setting with a fine-point blade. Adjust cutting pressure and speed based on your Cricut model.
Recommended Settings by Cricut Model
| Cricut Machine | Blade Type | Material Setting | Pressure | Speed |
|---|---|---|---|---|
| Cricut Maker | Fine-Point | Everyday Iron-On | Default | Default |
| Cricut Explore Air | Fine-Point | Iron-On Vinyl | Default | Default |
| Cricut Joy | Fine-Point | Smart Iron-On Vinyl | Auto-Adjust | Auto-Adjust |
Following these settings ensures precise cuts and saves time. Once your design is ready, it’s time to customize it in Cricut Design Space.
How do you design custom koozies in Cricut Design Space?
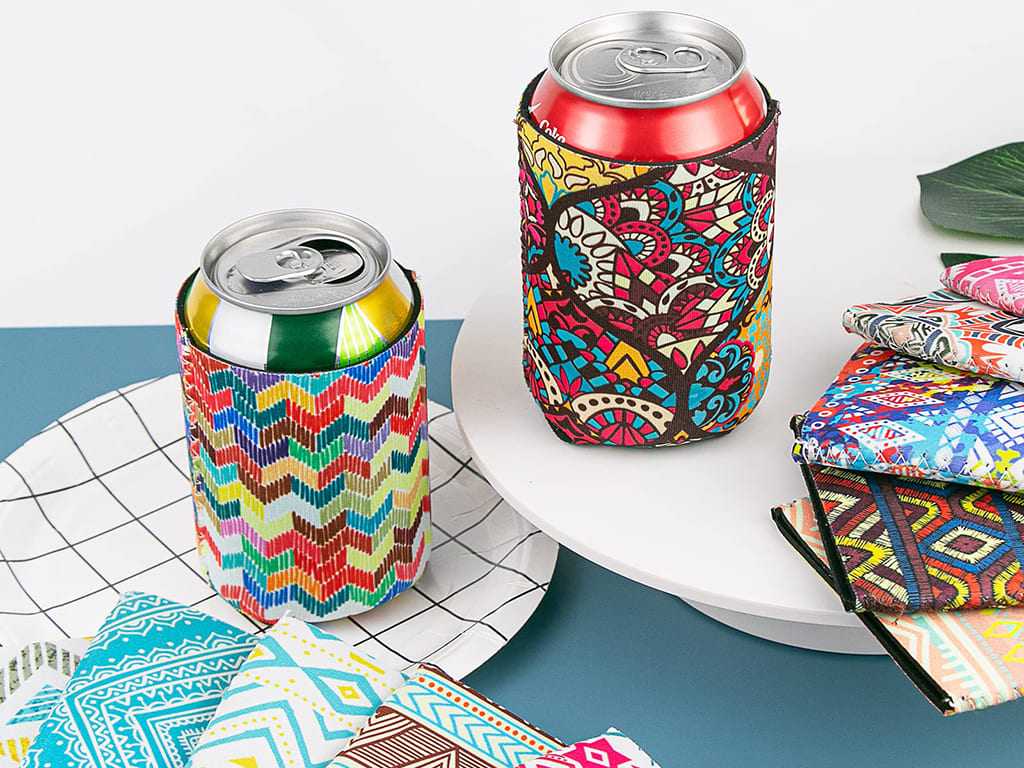
Cricut Design Space lets you bring your creativity to life by designing custom koozies. This software offers tools to create unique and eye-catching graphics.
To design koozies in Cricut Design Space, upload or create your design, adjust dimensions to fit the koozie, and prepare the layout for cutting on heat transfer vinyl.
Steps to Create a Koozie Design
- Set Dimensions: Adjust your design to fit standard koozie sizes (approximately 4×4 inches).
- Choose Fonts and Graphics: Select bold, easy-to-read fonts and scalable graphics.
- Upload or Create: Use Cricut’s templates or import custom SVG files.
- Mirror the Design: Flip the design horizontally for proper vinyl application.
Pro Tip: Designing for Branding
Adding logos or slogans to koozies is a great way to promote your business. Bold fonts and vibrant colors make designs stand out at events or promotions.
With your design ready, the next step is transferring it to your neoprene koozie.
How do you apply vinyl to neoprene koozies?
Applying vinyl to neoprene koozies requires precision and the right tools to ensure professional results. This step transforms plain koozies into custom masterpieces.
To apply vinyl to neoprene koozies, position the cut vinyl on the koozie, use a heat press or iron to adhere it, and peel off the carrier sheet after cooling.
Step-by-Step Application Process
- Preheat the Koozie: Use a heat press or iron to remove moisture and wrinkles.
- Position the Vinyl: Place the mirrored design onto the koozie with the shiny side up.
- Apply Heat and Pressure: Set the heat press to 305°F (or use an iron on medium heat) and press for 10-15 seconds.
- Cool and Peel: Allow the vinyl to cool before peeling off the carrier sheet.
Common Issues and Fixes
- Peeling Vinyl: Ensure adequate heat and pressure during application.
- Wrinkled Designs: Use even pressure to avoid misalignment.
Now, let’s explore mistakes to avoid when making custom koozies.
What are some common mistakes to avoid when making koozies?
Even with careful planning, mistakes can happen. Knowing what to avoid will save time, materials, and frustration.
Common mistakes when making koozies include incorrect vinyl settings, uneven heat application, and failure to mirror designs before cutting.
Top Mistakes and Solutions
| Mistake | Solution |
|---|---|
| Forgetting to Mirror Design | Always mirror the design in Cricut Design Space. |
| Uneven Heat Application | Use a heat press for consistent results. |
| Peeling Vinyl | Ensure proper time, temperature, and pressure. |
Avoiding Design Errors
- Use simple, bold graphics for clarity.
- Test designs on scrap vinyl before final application.
- Double-check dimensions to ensure the design fits the koozie.
Learning from these mistakes will make your customization process seamless and enjoyable.
Conclusion
Creating custom koozies with Cricut is a straightforward process that combines creativity with practicality. By following the right steps and avoiding common pitfalls, you can craft professional-grade koozies perfect for events, promotions, or personal use.
At Szoneier, we specialize in manufacturing high-quality neoprene koozies for businesses like yours. With over a decade of experience, we provide customizable options tailored to your branding needs. From vibrant colors to durable materials, our koozies are made to impress.
Ready to create your custom koozies? Contact us at info@neoprene-bag.com or visit our website at www.neoprene-bag.com to learn more. Let’s bring your vision to life!