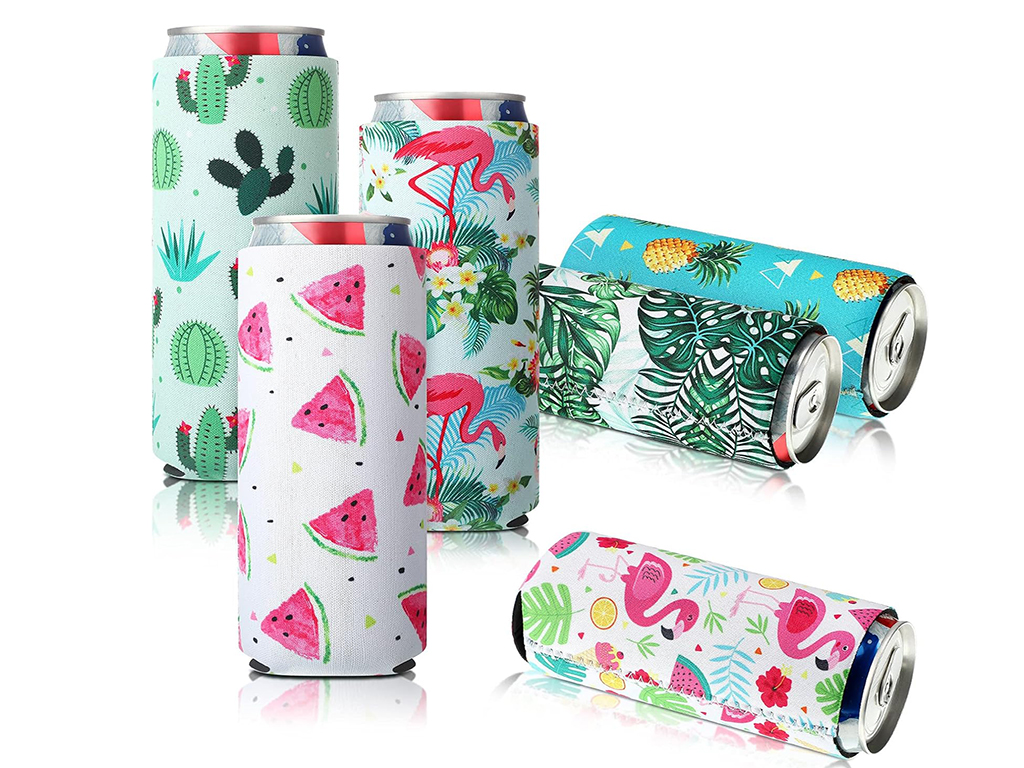
If you love outdoor activities like picnics, beach trips, or camping, you know how essential a good can cooler can be. Not only do these handy accessories keep your drinks cold, but they also prevent condensation from forming, so you won’t have to deal with wet hands or drippy cans. Making your own neoprene can cooler can be a fun, creative project, and it’s easier than you might think! In this guide, we’ll walk you through every step, from gathering materials to adding personal touches, so you can craft a cooler that’s perfect for your style and needs.
Neoprene is a synthetic rubber that has become popular in many products, from wetsuits to laptop sleeves. What makes neoprene special? Well, it’s durable, flexible, and excellent at insulating, which makes it perfect for keeping your beverages at just the right temperature. Whether you want to keep your soda cold during a summer BBQ or your craft beer chilled by the pool, a neoprene can cooler or koozie is the way to go. Let’s dive into how you can make one yourself!
Materials Needed
Before you start, let’s gather all the materials you’ll need. Here’s a handy list to keep you organized:
| Materials | Purpose |
|---|---|
| Neoprene fabric | This will be the main material for your cooler. Choose thickness based on your insulation needs,3mm is a popular choice for good insulation without being too bulky. |
| Scissors or rotary cutter | To cut the neoprene fabric. A rotary cutter is great for clean edges! |
| Sewing machine or hand sewing supplies | For stitching everything together. A sewing machine will make it easier, but you can hand-sew if you prefer. |
| Measuring tape or ruler | For taking accurate measurements of your fabric. |
| Pins or fabric clips | To hold the pieces together while you sew. This prevents them from slipping! |
| Iron and ironing board (optional) | To press seams for a neat finish. Just use a low heat setting to avoid damaging the neoprene. |
| Customization tools (if applicable) | If you want to personalize your cooler with designs or logos. |
| Fabric paint or heat transfer vinyl | For adding your own flair! |
| Embroidery supplies | If you prefer a classy, stitched look. |
Preparing the Design
1. Choosing the Cooler Size
The first step is to decide what size cooler you want to make. Most koozies are designed to fit standard beverage cans (about 4.83 inches tall and 2.6 inches in diameter). However, if you drink larger cans or bottles, you can adjust the dimensions accordingly. Don’t forget to add a little extra material for seams!

2. Deciding on the Cooler Shape and Style
You can go for a classic sleeve-style cooler, which wraps around the can, or you could create a cooler with a flat base for added stability. If you’re feeling adventurous, consider adding a handle for easier carrying. Sketch out a design on paper to help visualize your ideas.
3. Creating a Pattern/Template
To ensure a perfect fit, you’ll need a template. Use your measurements to create a paper pattern. Here’s a simple way to make it:
- Height: For a standard can, use 5 inches.
- Width: Measure the circumference and divide by two, adding an extra half inch for seams (approximately 3 inches).
- Cut out the paper template.
4. Customization Options
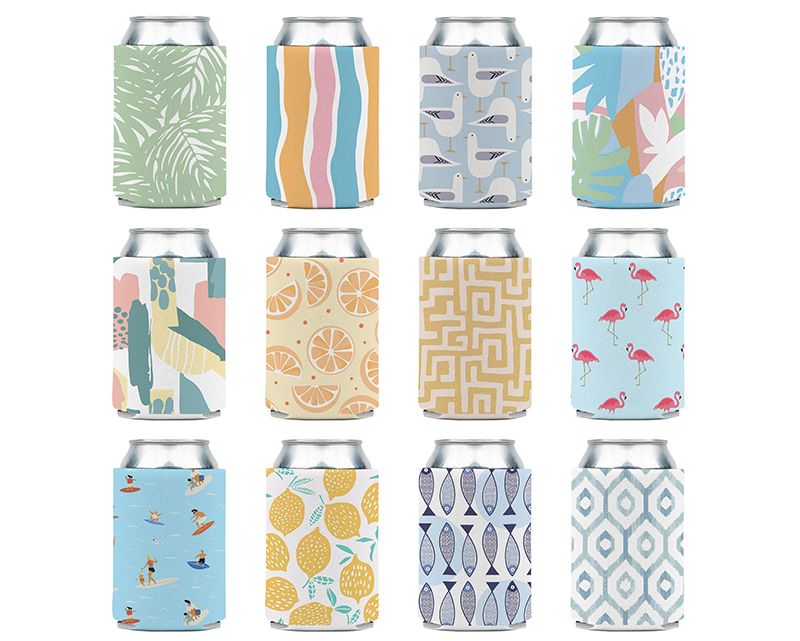
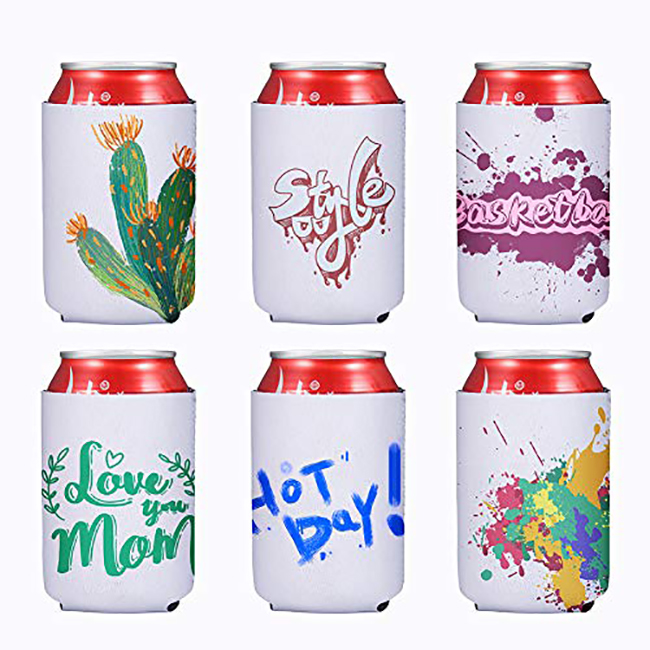
This is where your creativity can really shine! Think about colors and patterns that reflect your personality. You could even add a fun logo or a quirky saying that resonates with you. The possibilities are endless!
Cutting the Neoprene
Measuring and Marking the Neoprene Fabric
Now that you have your template, it’s time to cut the neoprene. Place your template on the neoprene fabric and trace around it using a fabric marker or chalk. Make sure to mark two pieces for the sides and one piece for the bottom.
Techniques for Cutting Neoprene Accurately
When it comes to cutting neoprene, precision is key. Use sharp scissors or a rotary cutter for clean cuts. It’s important to follow your marked lines closely to ensure everything fits together smoothly.
Tips for Ensuring Clean Edges
To achieve clean edges, cut slowly and steadily. If you notice any rough spots, you can carefully trim them later. Warming the neoprene slightly with an iron on low heat can also help it become more pliable, making it easier to handle.
Assembling the Can Cooler
Step by Step Instructions for Sewing the Cooler
Now for the fun part—putting everything together!
- Align and Pin the Pieces: Take your two side pieces of neoprene and place them together, with the sides that will show facing inward. Pin or clip the edges to keep them in place while you sew.
- Sewing the Side Seams: Using your sewing machine (or a needle and thread for hand-sewing), stitch along the pinned edges, leaving a 1/4 inch seam allowance. Remember to backstitch at the beginning and end to secure your seams.
- Attaching the Bottom: Cut a circle from the neoprene to serve as the bottom (about 3 inches in diameter). Sew this circle to the bottom edge of the cooler. This gives it stability and a neat finish.
How to Add a Handle or Additional Features
If you want to add a handle, cut a strip of neoprene about 1 inch wide and 8 inches long. Attach it to the top of the cooler by sewing it into the side seams. This extra feature makes carrying your drinks even easier!

Finishing Touches
Trimming Excess Fabric and Threads
Once everything is sewn together, trim any excess fabric and loose threads for a clean look. It’s the little details that make a big difference!
Ironing Seams for a Polished Look (if applicable)
If you want to give your cooler a professional touch, gently press the seams with an iron set to low heat. Just be cautious not to overheat the neoprene, as it can warp or melt.
Final Inspection for Quality and Durability
Take a moment to inspect your cooler. Make sure all seams are secure and that there are no gaps. A good-quality cooler will last you through many adventures!
Customization Techniques
Adding Custom Designs or Logos
Now that you have a cool cooler, let’s personalize it! Use fabric paint to hand-paint designs, or if you prefer a cleaner look, apply heat transfer vinyl. Simply cut your desired design, use a heat press to apply it, and voila! Your cooler is uniquely yours.
Embroidery Options for a Personalized Touch
For an elegant finish, consider embroidery. This option not only looks great but adds durability to your cooler. Find a local embroidery service or invest in a home embroidery machine to create stunning designs.
Tips for Ensuring Durability of Customizations
Choose high-quality paints and materials when customizing your cooler. Make sure to follow the manufacturer’s instructions for application and curing to ensure your designs stay intact through washings and outdoor adventures.
How to Care and Maintenance Your Neoprene Can Cooler
A. Cleaning Instructions for Neoprene Can Coolers
To keep your cooler looking fresh, hand wash it in warm, soapy water. Avoid putting it in the washing machine or using harsh chemicals, as these can damage the neoprene.
B. Storage Tips to Maintain Shape and Longevity
Store your cooler flat when it’s not in use. Avoid crumpling or folding it, as this can create creases that may affect its performance over time.
C. Avoiding Common Mistakes That Can Damage the Material
Be mindful of where you leave your neoprene cooler. Prolonged exposure to heat or direct sunlight can degrade the material, so try to keep it in a cool, shaded area when you’re not using it.
Conclusion
Making your own neoprene can holder is not only a fun project but also a practical way to enjoy your favorite beverages at the perfect temperature. With just a little time and creativity, you can craft a cooler that’s uniquely yours. So gather your materials, unleash your creativity, and start sewing! You’ll be the envy of your friends when they see your stylish, custom can cooler at your next gathering. Cheers to that!

