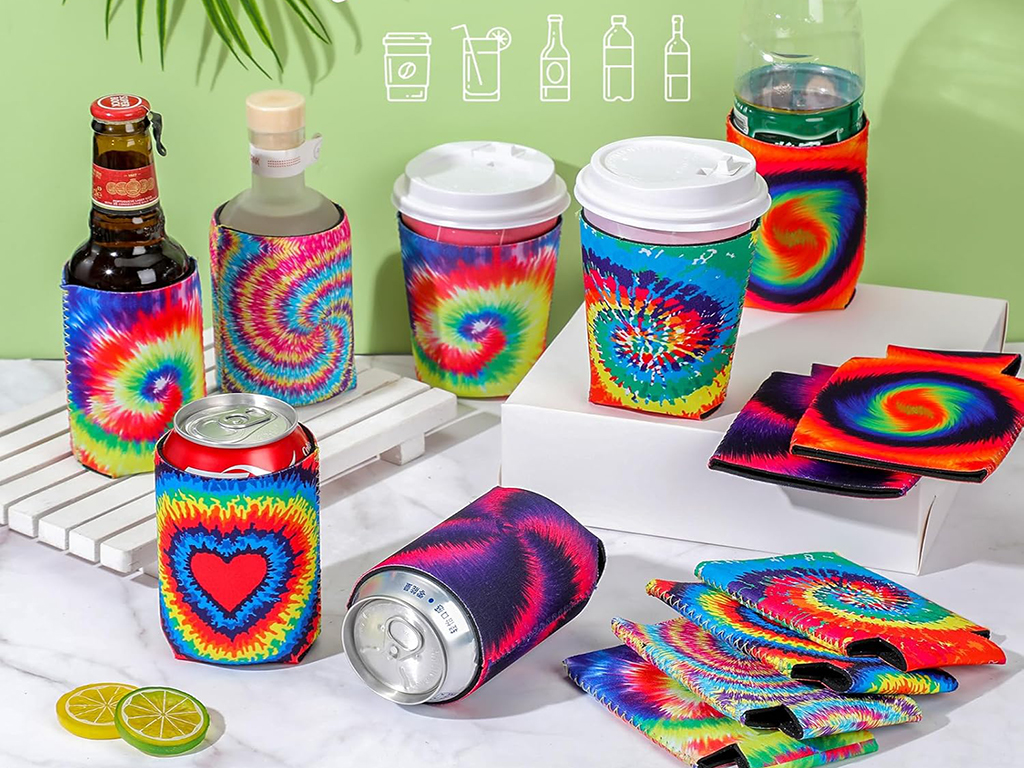
Neoprene can coolers or neoprene koozies are more than just functional drink holders; they’re an expression of your style and personality. Whether you’re at a backyard barbecue, hitting the beach, or enjoying a picnic, a customized can cooler can elevate your experience, making every sip more enjoyable. In this ultimate guide, we’ll take you through the entire process of heat pressing on neoprene can coolers, breaking it down into simple steps that anyone can follow. So grab your favorite drink, and let’s get started!
What is Neoprene?
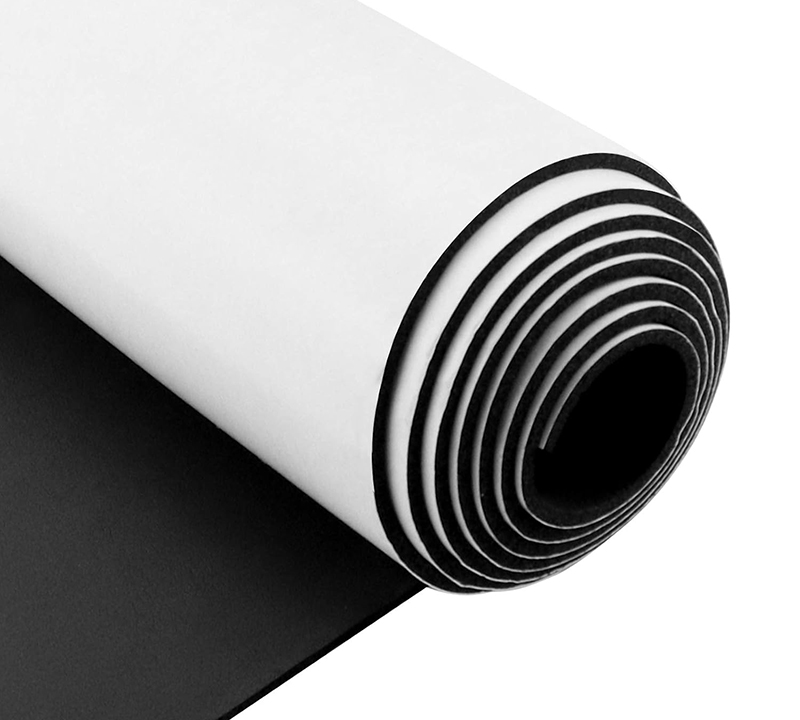
Neoprene is a synthetic rubber material renowned for its flexibility and insulation properties. If you’ve ever worn a wetsuit or used a laptop sleeve, you’ve encountered neoprene! This material is particularly popular for can coolers because it effectively keeps drinks cold while being durable and lightweight.
Properties and Characteristics
- Temperature Resistance: Neoprene is designed to handle extreme temperatures. It reduces heat transfer, meaning your drinks can stay chilled for longer—up to 60% longer, according to studies!
- Flexibility: This material easily hugs the shape of your cans, from standard soda cans to larger tallboy beers. You won’t have to worry about your cooler falling off or feeling loose.
- Durability: Neoprene can withstand rough handling, whether you’re tossing it in a cooler or stepping on it at a tailgate. It won’t tear or stretch easily, ensuring you can use your cooler for many adventures to come.
Benefits of Using Neoprene for Can Coolers
- Insulation Properties: Think about those sunny days when you reach for a cold drink only to find it’s warm. Neoprene prevents that disappointment, ensuring your beverages stay icy cold.
- Durability and Flexibility: Neoprene can endure the bumps and scrapes of outdoor fun without losing its shape or effectiveness. It’s made to last, making it an ideal choice for those who love to party.
- Ease of Customization: The smooth surface of neoprene is perfect for vibrant designs and bold graphics. You can easily personalize your can coolers to showcase your favorite quotes, logos, or patterns, making them uniquely yours.
Preparing for Heat Pressing
Tools and Equipment Needed
To embark on your heat-pressing adventure, gather these essential tools:
| Item | Purpose |
|---|---|
| Heat press machine | For applying heat and pressure to your design. |
| Neoprene can coolers | The base product to customize. |
| Heat transfer vinyl (HTV) | The material you’ll use to create your design. |
| Protective paper or Teflon sheets | To protect the cooler and heat press. |
| Scissors or cutting machine | For cutting your designs accurately. |
Setting Up Your Work Area
- Ensuring a Clean and Organized Workspace: Find a spacious and tidy spot on your table or countertop. A clutter-free area will help you focus and make the whole process much smoother. Maybe put on some music to get in the creative zone!
- Safety Considerations: Before you dive into pressing, ensure your workspace is well-ventilated, especially since you’ll be dealing with heat. Keep flammable items away from your heat press, and it might be a good idea to have a fire extinguisher nearby—just in case!
Designing Your Graphics
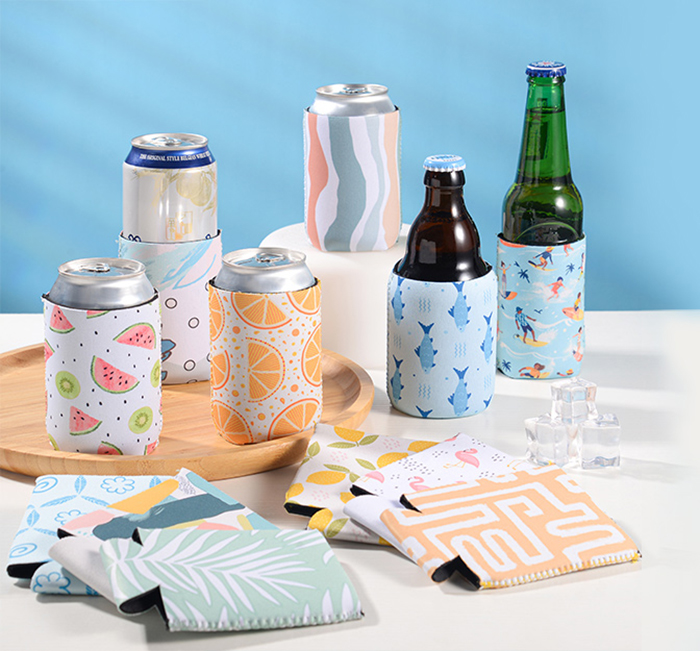
Creating Effective Designs
Your design is what will make your cooler stand out. Here’s how to make it pop:
- Bold Colors: Bright, vibrant colors catch the eye and stand out against neoprene. Think about colors that resonate with your audience or the event theme.
- Simple Patterns: Avoid overly complicated designs. Neoprene has a textured surface that works best with simpler graphics or logos.
Design Software Recommendations
- Adobe Illustrator: If you’re familiar with graphic design, this software is fantastic for creating high-quality designs. It has all the tools you need to bring your vision to life!
- Canva: This user-friendly platform is perfect for beginners. With numerous templates available, you can whip up a design in no time. Just drag and drop, and you’re on your way!
- Inkscape: A free alternative to Illustrator, Inkscape is packed with features that allow you to create stunning designs without breaking the bank.
Sizing and Layout Considerations
When designing, it’s important to consider the dimensions of your cooler. Here’s a handy reference table for standard can coolers:
| Cooler Size | Height | Diameter |
|---|---|---|
| Standard | 4.5 inches | 3 inches |
| Tall | 5.5 inches | 3 inches |
| Slim | 5.0 inches | 2.5 inches |
Be sure to keep your design within these dimensions for the best fit. A well-sized design not only looks better but also adheres better during the heat pressing process.
Preparing the Design for Heat Transfer
- Cutting the Design: If you’re using a cutting machine like a Cricut or Silhouette, follow the machine’s instructions to cut your design accurately. Adjust the machine settings based on the type of heat transfer vinyl (HTV) you’re using for the best results.
- Weeding Excess Material: After cutting, you’ll need to remove the excess vinyl, a process called weeding. This part can be oddly satisfying! Use a weeding tool to lift away unwanted pieces, leaving only your design ready to be transferred.
The Heat Pressing Process
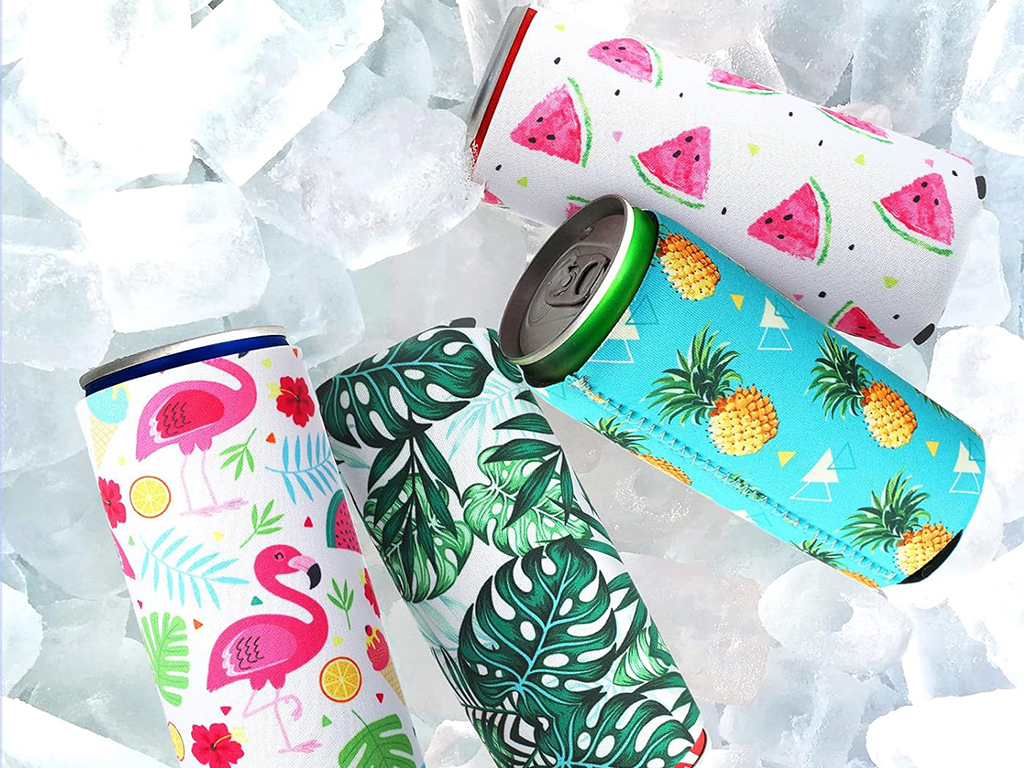
Pre-Heating the Heat Press
- Optimal Temperature Settings for Neoprene: Set your heat press to 300°F (150°C). This temperature is ideal for heat transferring onto neoprene without damaging it. If your heat press has a temperature gauge, make sure it’s accurate!
- Time Settings for Effective Pressing: You typically want to press your design for about 10 to 15 seconds. This timeframe allows the vinyl to bond with the neoprene effectively without overheating it.
Positioning the Neoprene Cooler
- Aligning the Design Accurately: Before pressing, double-check the alignment of your cooler and design. A centered and straight design makes a world of difference in how professional your cooler looks.
- Securing the Design: If you’re concerned about your design moving during the pressing process, use heat-resistant tape to secure it in place. This simple step can save you from any mishaps and ensure a flawless transfer.
Pressing the Design
- Applying Even Pressure: Close the heat press and apply firm, even pressure. If your machine allows, set it to medium pressure. This ensures that the heat is distributed evenly across the cooler, helping your design adhere properly.
- Timing Considerations: Keep an eye on the timer. You want to be attentive, as over-pressing can lead to damage, while under-pressing might not allow the design to adhere properly.
- Tips for Successful Heat Transfer: Ensure your heat press plate is clean and free from any dirt or residue. Any leftover material can affect the quality of your transfer, leading to uneven results.
Post-Pressing Care
Allowing the Cooler to Cool
Once your pressing is done, carefully lift the heat press and let the cooler cool for a moment. This little pause will help set your design perfectly.
Peeling the Transfer Sheet
- Best Practices for Peeling: When it’s time to peel away the transfer sheet, do it slowly and at a 45-degree angle. This method helps to prevent lifting or damaging your design. Think of it like unwrapping a present—slow and steady wins the race!
- Inspecting the Final Product: After peeling, take a good look at your cooler. Check for any imperfections or areas where the design didn’t adhere properly. If you spot any issues, don’t fret! You can always re-press the cooler for a quick fix.
Troubleshooting Common Issues
Incomplete Transfers
Possible Causes:
- Insufficient temperature or pressure.
- Not enough pressing time.
Solutions:
- If your design hasn’t fully adhered, try adjusting your heat press settings and give the cooler another press. Sometimes, a little extra time is all you need.
Design Damage or Distortion
How to Prevent:
- Proper alignment is key. Make sure everything is set up correctly before pressing to avoid any mishaps.
Fixes:
- If your design gets damaged, it might be best to start fresh with a new cooler and redo the process. It’s all part of the learning journey!
Color Fading or Peeling Over Time
Recommendations for Care:
- Hand wash your coolers instead of tossing them in the washing machine. This gentle approach helps preserve the design.
- Avoid exposing them to high heat in the dryer, as this can cause the vinyl to lift or fade over time.
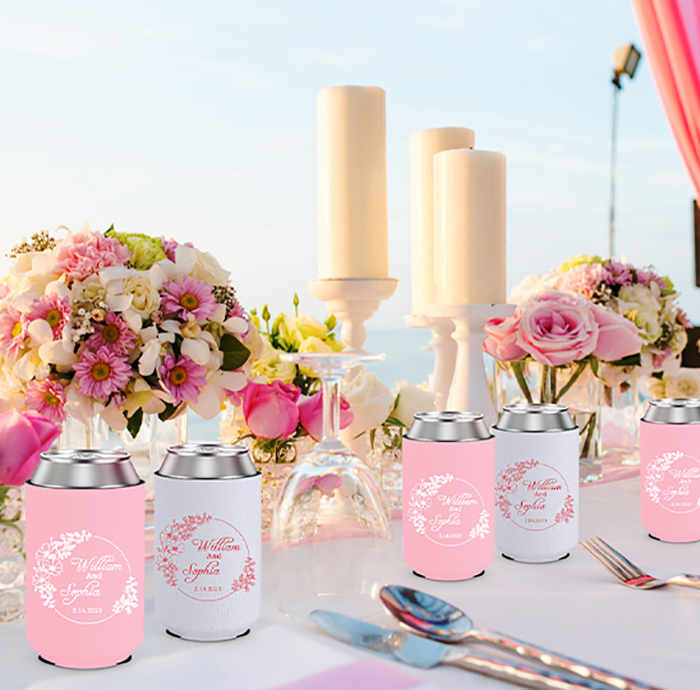
Maintenance of Heat Press Equipment
Regular Maintenance Tips
- Cleaning the Heat Press: After each use, wipe down the plates with a soft cloth to remove any residue or leftover transfer material.
- Checking for Wear and Tear: Regularly inspect your heat press for any signs of damage, especially the heating elements. Keeping it in good condition will extend its life.
Ensuring Longevity of Equipment
Routine maintenance not only keeps your equipment safe but also ensures that you can create beautiful designs for years. A little care goes a long way!
Conclusion
Congratulations! You’ve just mastered the art of heat pressing on neoprene can coolers. From gathering your materials to troubleshooting common issues, you now have all the tools you need to create stunning custom designs. Picture yourself walking into a gathering with a cooler that not only keeps your drinks cold but also shows off your unique style—what a conversation starter!
Ready to unleash your creativity? Gather your materials, pick a design that speaks to you, and start heat pressing your very own neoprene can coolers! Whether it’s for a summer BBQ, a fun family reunion, or just for your enjoyment at home, your custom can coolers are sure to impress. If you have any questions or need assistance along the way, don’t hesitate to reach out.

